

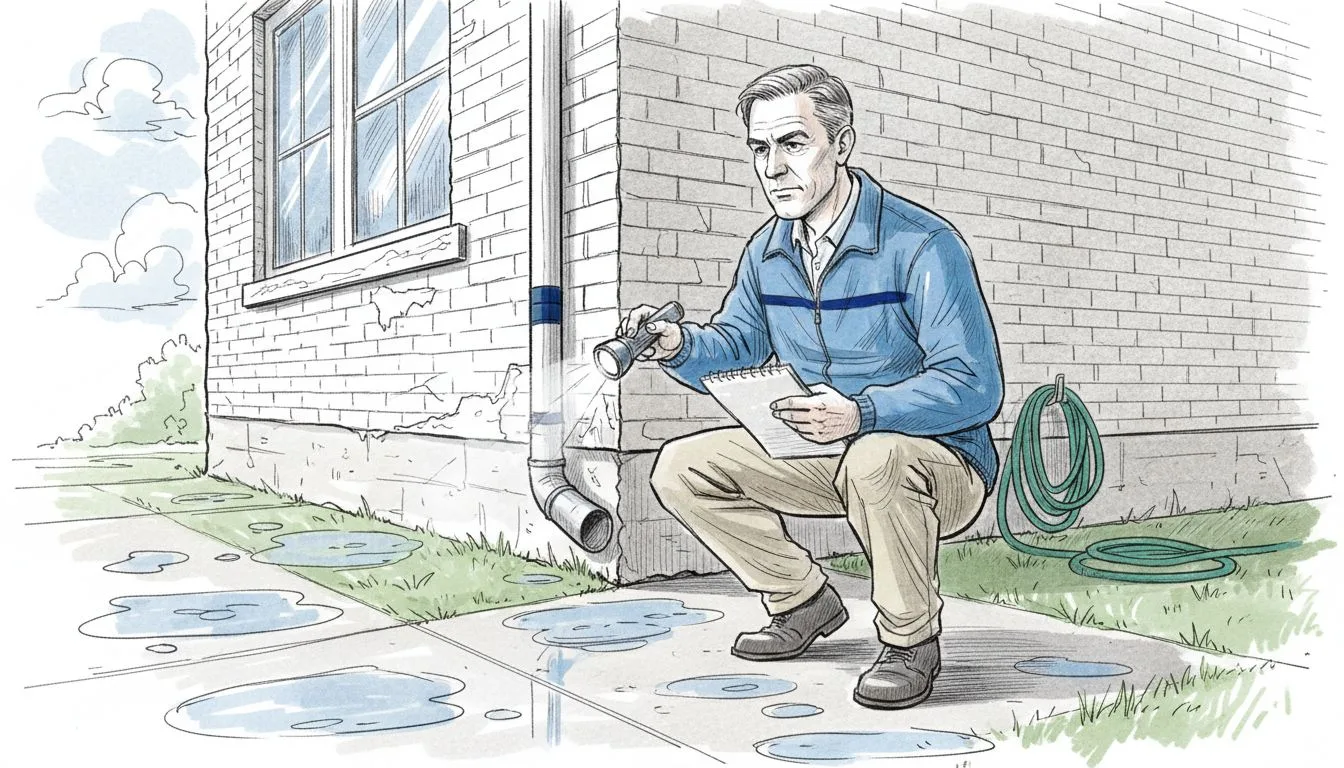
Every year, American homeowners in the Chicago suburbs face costly repairs when water damage goes unnoticed. From subtle discoloration to persistent musty odors, moisture problems can creep in quietly and wreak havoc on your most valuable investment. If recent storms have left you worried about hidden leaks or structural risks, understanding professional home inspection steps is your first line of defense against escalating repair bills. This guide reveals practical strategies to spot, document, and address water intrusion before it grows into a major issue.
Table of Contents
- Step 1: Prepare Your Home for Water Intrusion Inspection
- Step 2: Identify Key Water Entry Points Inside and Outside
- Step 3: Investigate Signs of Moisture and Water Damage
- Step 4: Test for Mold and Radon in Damp Areas
- Step 5: Verify Repairs and Schedule Ongoing Checkups
Step 1: Prepare Your Home for Water Intrusion Inspection
Preparing your home for a comprehensive water intrusion inspection requires strategic assessment of potential moisture entry points. The goal is to provide Chicago Home Inspect LLC professionals with clear access and visibility to identify potential risks before they become costly repairs.
Start by thoroughly examining your home’s exterior and interior surfaces. Identifying moisture risk zones involves checking critical areas like window frames, roof edges, foundation walls, and basement spaces. Pay special attention to areas around plumbing fixtures, exterior wall penetrations, and zones with previous water damage history. Chicago homeowners should look for subtle signs such as discoloration, warping, soft spots in walls or floors, and unexplained musty odors.
Documenting your findings is crucial. Create a detailed map or list of potential problem areas you discover during your initial walkthrough. This proactive approach helps inspectors focus their attention efficiently and provides valuable context about your home’s specific moisture challenges. Remove any stored items blocking access to walls, crawl spaces, or potential inspection zones to ensure a thorough examination.
Pro Tip: Take clear, dated photographs of any suspected moisture damage areas to provide visual documentation for your home inspector.
Step 2: Identify Key Water Entry Points Inside and Outside
Identifying potential water entry points is crucial for preventing moisture damage in your Chicago area home. The goal is to systematically examine both interior and exterior surfaces where water might penetrate your building envelope.
Water intrusion investigation requires careful examination of multiple structural zones. Outside your home, inspect roof edges, gutters, window and door frames, foundation walls, and any exterior siding connections. Look for deteriorating caulking, cracked mortar, damaged flashing, or improper grading that could direct water toward your foundation. Inside, check ceiling corners, wall intersections, baseboards, and areas around plumbing fixtures for discoloration, soft spots, or subtle moisture signs.
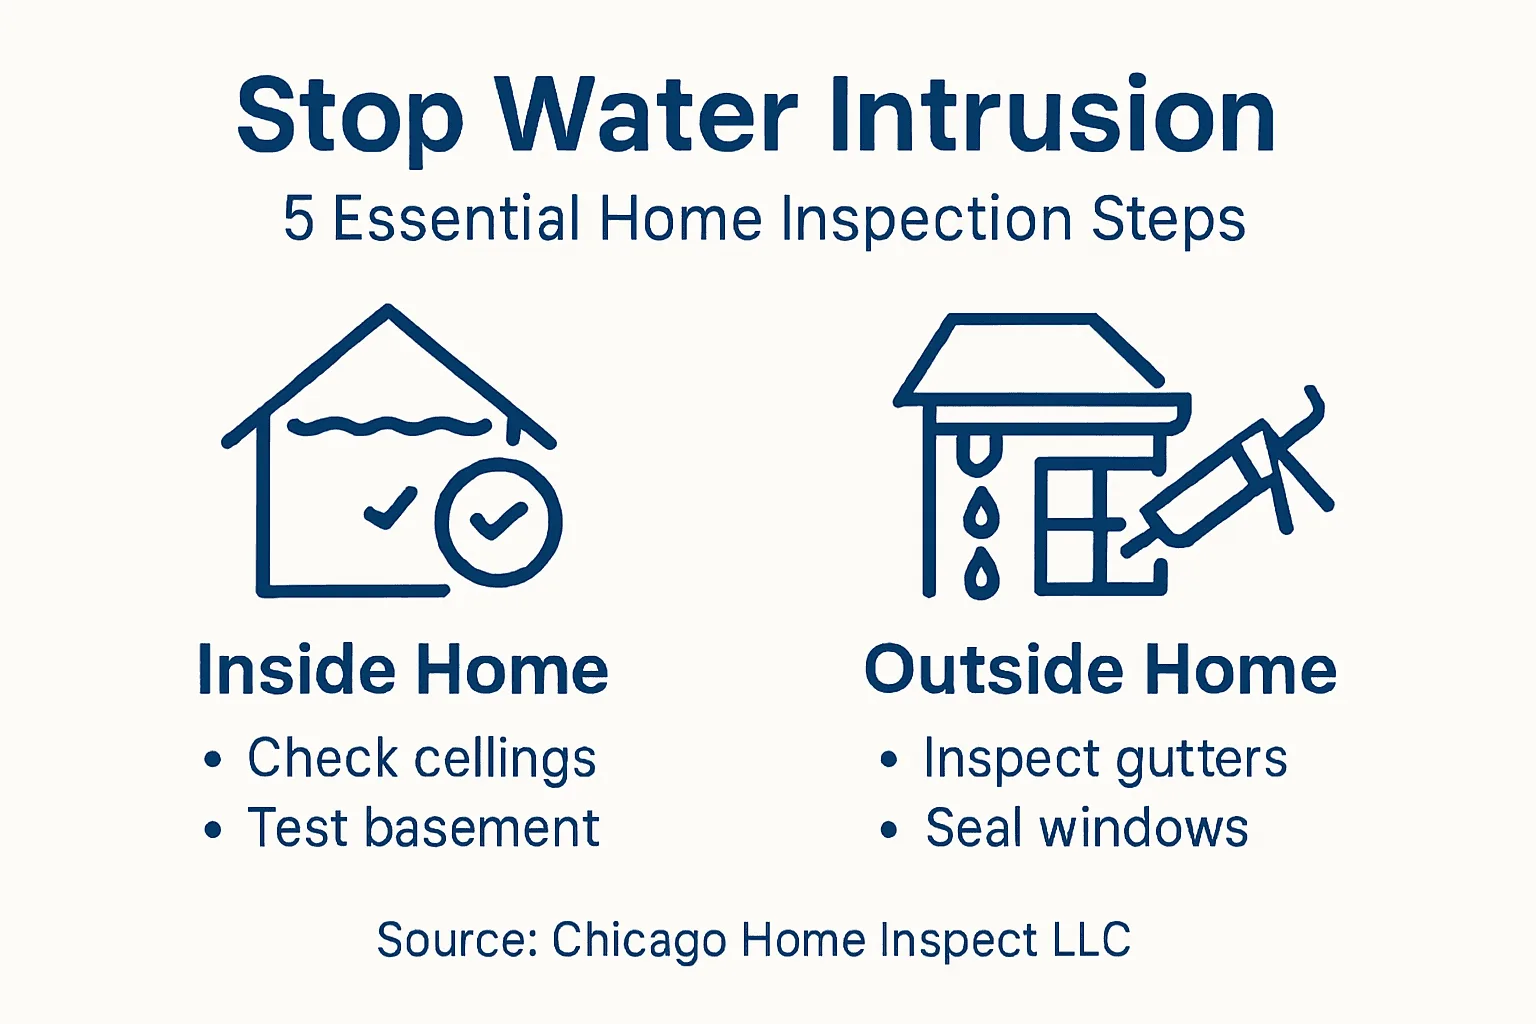
Pay special attention to high risk zones like basement walls, crawl spaces, and areas near external downspouts. Chicago homes often experience unique moisture challenges due to seasonal temperature variations, so understanding your specific architectural vulnerabilities is key. Document any discovered potential entry points with measurements and photographs to help professional inspectors develop a targeted assessment strategy.
Pro Tip: Use a bright flashlight and run your hand along walls and surfaces to detect subtle temperature changes or hidden moisture spots that might escape visual inspection.
Step 3: Investigate Signs of Moisture and Water Damage
Discovering moisture damage early can save Chicago homeowners thousands in potential repair costs. Your investigation will focus on identifying subtle and obvious signs of water intrusion throughout your home.
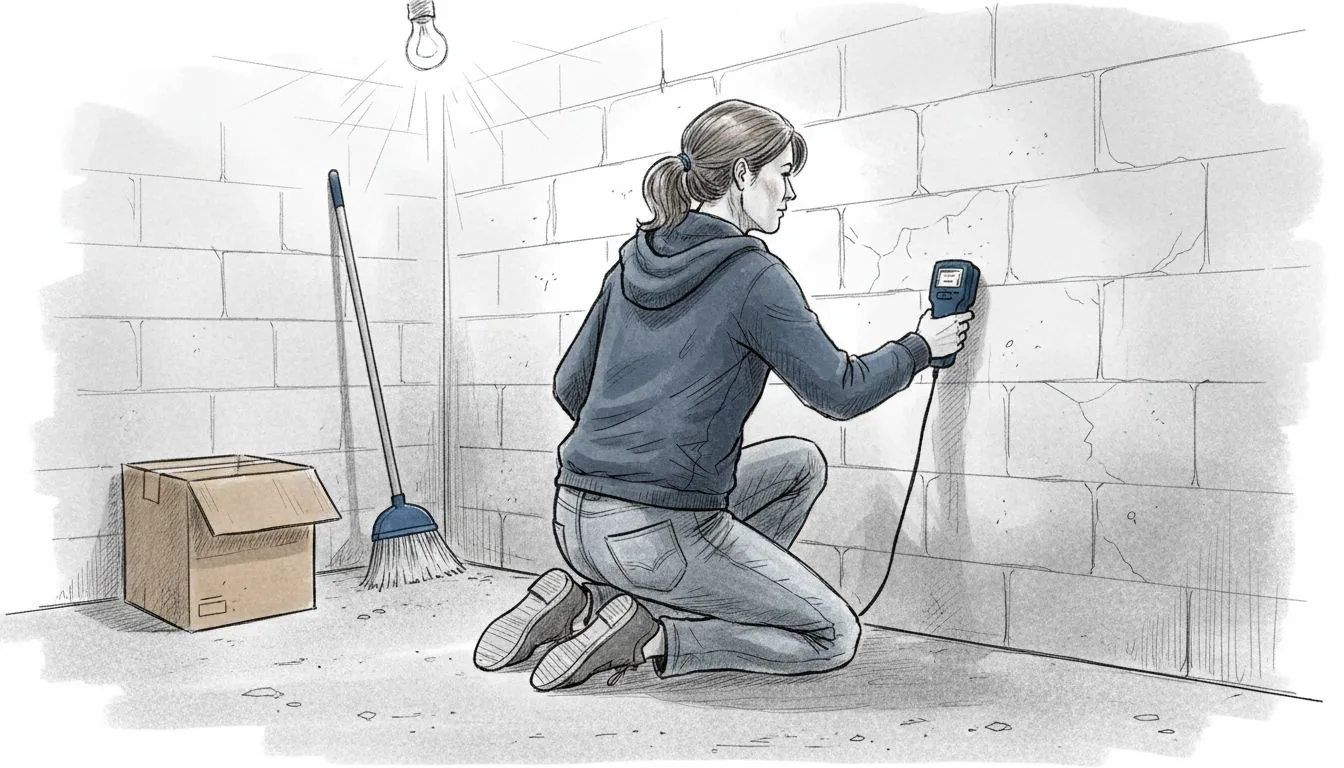
Common moisture damage indicators require careful systematic observation of key home areas. Start by examining ceiling surfaces for water stains that appear as brownish or yellowish discoloration. Check wall intersections where baseboards meet floors for signs of warping or soft spots. Pay close attention to areas around plumbing fixtures like sinks, toilets, and shower enclosures where water leaks frequently occur. Look for telltale signs such as peeling paint, bubbling wallpaper, unexplained musty odors, or visible mold growth particularly in dark or poorly ventilated spaces.
In Chicago homes with basements and crawl spaces, moisture investigations become even more critical. Inspect foundation walls for horizontal or vertical cracks that could allow water seepage. Use a bright flashlight to illuminate dark corners and look for efflorescence white salt deposits that indicate water movement through concrete or masonry. Document your findings with clear photographs and specific location notes to help professional inspectors understand the full context of potential water intrusion risks.
Here’s a quick reference to common water intrusion signs and their likely sources:
| Visual Indicator | Possible Source | Recommended Initial Action |
|---|---|---|
| Brown ceiling stains | Roof leaks or plumbing leak | Inspect roof and plumbing above the area |
| Wall paint bubbling | Wall water infiltration | Check exterior siding and caulking |
| Warped baseboards | Floor or wall seepage | Examine foundation and lower walls |
| Musty odors | Hidden moisture/mold | Investigate poorly ventilated spaces |
| Efflorescence on concrete | Groundwater foundation seep | Assess exterior drainage and grading |
Pro Tip: Use a moisture meter to quantify hidden water damage in walls and wooden structures before visual signs become apparent.
Step 4: Test for Mold and Radon in Damp Areas
Damp areas in your Chicago home can harbor hidden health risks that require careful testing and monitoring. This step focuses on identifying and evaluating potential mold and radon contamination in moisture prone spaces.
Water intrusion testing protocols recommend systematic evaluation of areas with previous moisture exposure. Begin by checking basement corners, crawl spaces, and areas near plumbing fixtures for visible signs of mold growth. Use a professional grade moisture meter to detect hidden dampness behind walls or under flooring. Pay special attention to dark spaces with poor ventilation where mold spores thrive. For radon testing, focus on lower levels of your home particularly in areas with concrete foundations or spaces adjacent to soil contact.
Chicago area homes often experience unique environmental challenges due to seasonal humidity and temperature variations. Collect samples from multiple locations using approved testing kits and consider professional laboratory analysis for comprehensive results. Document each testing location with clear photographs and precise measurements to provide context for potential remediation efforts.
Pro Tip: Purchase dual radon and mold test kits that allow simultaneous screening to save time and provide a more complete environmental assessment.
Below is a summary of tools and their benefits for water intrusion inspection:
| Tool | Use Case | Benefit |
|---|---|---|
| Flashlight | Detecting moisture in dark spaces | Reveals hidden problem areas |
| Moisture meter | Measuring hidden wall/floor dampness | Early damage detection |
| Camera | Documenting inspection findings | Records conditions visually |
| Dual mold/radon kit | Testing air/environment in damp zones | Identifies multiple hazards |
Step 5: Verify Repairs and Schedule Ongoing Checkups
Comprehensive water damage prevention requires more than initial repairs it demands consistent monitoring and strategic maintenance. Your goal is to ensure all identified water intrusion issues have been thoroughly addressed and establish a proactive inspection schedule.
Water damage repair verification involves methodical assessment of previously treated areas. Carefully inspect all repaired zones checking for complete material replacement, proper drying techniques, and evidence of effective moisture mitigation. Look for consistent surface textures, absence of discoloration, and structural integrity in previously damaged regions. Pay special attention to sealed areas around windows, foundations, and plumbing fixtures where water might continue to penetrate if repairs were incomplete.
Chicago Home Inspect LLC recommends scheduling professional inspections at least annually particularly for homes with previous moisture challenges. Document the initial repair process with detailed photographs creating a comprehensive record for future reference. Consider setting calendar reminders for periodic self assessments and professional evaluations to catch potential issues before they escalate into significant problems.
Pro Tip: Photograph repaired areas immediately after work completion and create a digital folder tracking your home’s moisture management history for easy future comparisons.
Protect Your Chicago Home from Costly Water Intrusion Today
Water intrusion can silently damage your home’s foundation, walls, and indoor air quality. This article highlights key challenges like identifying moisture risk zones, spotting subtle signs of damage, and testing for mold and radon that every homeowner must address promptly. If you have noticed discoloration, musty odors, or want to verify repairs, these are critical warning signs that require expert eyes.
Do not wait until minor leaks turn into expensive repairs. Chicago Home Inspect LLC offers trusted, licensed inspection services including mold testing, radon assessments, and yearly home checkups tailored to local conditions. Benefit from our InterNACHI certified team with BBB accreditation ready to inspect your property thoroughly and help you develop a proactive water intrusion prevention plan.
Ready to take control of moisture risks in your home? Schedule your professional inspection now for peace of mind and long-term savings. Click to book your Home Inspection Service and explore options like Mold Testing or Yearly Home Checkup. Make the decision today that protects your Chicago home for tomorrow.
Frequently Asked Questions
How can I prepare my home for a water intrusion inspection?
To prepare your home for a water intrusion inspection, start by examining exterior and interior surfaces for potential moisture entry points. Document your findings with a detailed list or map, and remove any items blocking access to inspection zones to facilitate a thorough evaluation.
What are common signs of water intrusion I should look for?
Common signs of water intrusion include water stains on ceilings, warped baseboards, and musty odors. Conduct a systematic inspection of walls, floors, and plumbing areas to identify these issues early and address them promptly.
How do I identify key water entry points in my home?
To identify key water entry points, examine both the interior and exterior surfaces of your home. Focus on roof edges, gutters, window and door frames, and foundation walls, looking for signs of deterioration or damage that could allow water to enter.
What steps should I take if I find signs of mold in damp areas?
If you find signs of mold in damp areas, you should conduct testing using a moisture meter and consider professional analysis for accurate results. Address the moisture source immediately to prevent further growth and ensure proper ventilation in these spaces.
How can I verify if repairs for water damage were effective?
To verify if repairs for water damage were effective, inspect repaired areas for proper material replacement and signs of moisture mitigation. Look for consistency in surface textures and ensure that no discoloration or structural issues persist in the affected zones.
How often should I schedule professional inspections for water intrusion?
It is advisable to schedule professional inspections for water intrusion at least once a year, especially if your home has a history of moisture challenges. Establish a routine to monitor potential issues proactively, helping to avoid costly repairs down the line.
Recommended
- 7 Ways to Storm-Proof Your Home: Small Fixes for Water Damage | Chicago Home Inspect LLC
- How to Spot Water Damage Before It Becomes Costly
- 5 Simple Things to Inspect Before Home Inspection Services in Chicago
- 7 Common Home Inspection Findings You Should Know | Chicago Home Inspect LLC
- 7 zasad skutecznej organizacji wnętrz – praktyczne porady | Przestrzeń Od Nowa