We recommend a new construction pre-drywall phase inspection for nearly every buyer building from the ground up. It’s the one point in the build when framing, plumbing, electrical, and HVAC rough-ins are all visible at once, before insulation and drywall hide them for good. A photographed written report at this stage gives you real evidence to bring to the builder, not just a verbal complaint.
- Verdict: Get the inspection. It catches defects that cost a few dollars to fix now and thousands to fix after the walls close.
- Why it works: Framing, plumbing, electrical, and HVAC are all exposed and easy to document.
- Next step: Schedule it right after municipal rough-in sign-off, before insulation goes in.
Table of Contents
- What Is a Pre-Drywall Inspection and When Should You Schedule It?
- What Do Inspectors Check During a Rough-In Inspection?
- What a Pre-Drywall Inspection Does Not Cover
- Should You Attend the Inspection Walk-Through?
- What’s in the Report, and What Happens Next?
- How Long Does It Take, and What Does It Cost?
- How Do You Choose the Right Inspector?
- Our Chicago Experience: What We Look for in Local New Builds
- How We Approach Every Pre-Drywall Visit
- Book Your Pre-Drywall Inspection With Chicago Home Inspect LLC
- Frequently Asked Questions
- Sources
What Is a Pre-Drywall Inspection and When Should You Schedule It?
A pre-drywall inspection, sometimes called a rough-in inspection, is a noninvasive visual review of a home’s framing, foundation, and mechanical systems after they’re installed but before insulation and drywall cover them. It follows foundation work, framing, roofing, exterior covering, and the plumbing, electrical, and HVAC rough-ins, according to InterNACHI’s Standards of Practice.
Timing is tight. The usable window often runs just 2 to 5 days between rough-in sign-off and the crew showing up with insulation. Miss it, and everything you wanted to see is buried behind drywall for the life of the house.
- Schedule immediately after the municipal rough-in inspection passes.
- Confirm the window before insulation and drywall crews are booked.
- Build in a buffer of at least a day or two in case of weather delays or trade scheduling shifts.
Pro Tip: Ask your builder’s construction manager for written notice of the insulation and drywall schedule, and request at least 48 hours’ lead time. Verbal promises about timing get lost in a busy build schedule.
What Do Inspectors Check During a Rough-In Inspection?
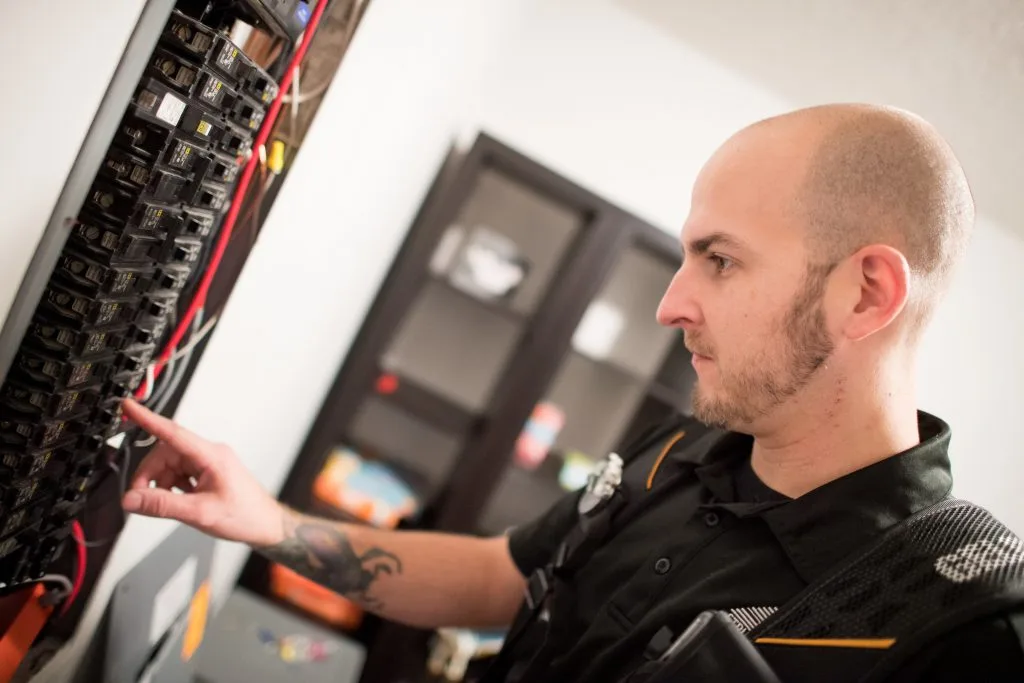
This is where the real value shows up. A pre-drywall inspection looks at the structural skeleton of the house and every mechanical system running through its walls and ceilings, checking load paths, firestop material, pipe slope and support, and wiring protection before any of it disappears.
Structure and framing. Inspectors look at studs, joist hangers, headers, and load paths for proper sizing and placement. They check for over-notched studs, missing blocking, inadequate bracing, and sheathing that’s improperly nailed or gapped.
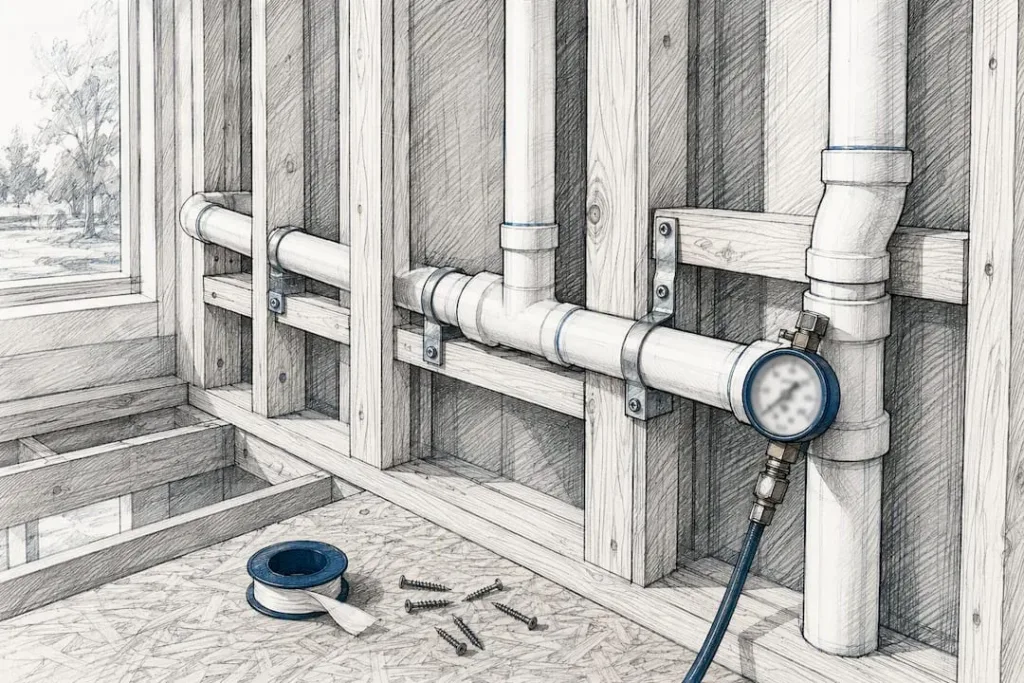
Plumbing rough-in. Drain lines need proper slope and support. Vents have to run correctly. Inspectors look for missing dielectric fittings, unsupported pipe runs, and any sign of a leak at a joint that’s already been pressure tested.
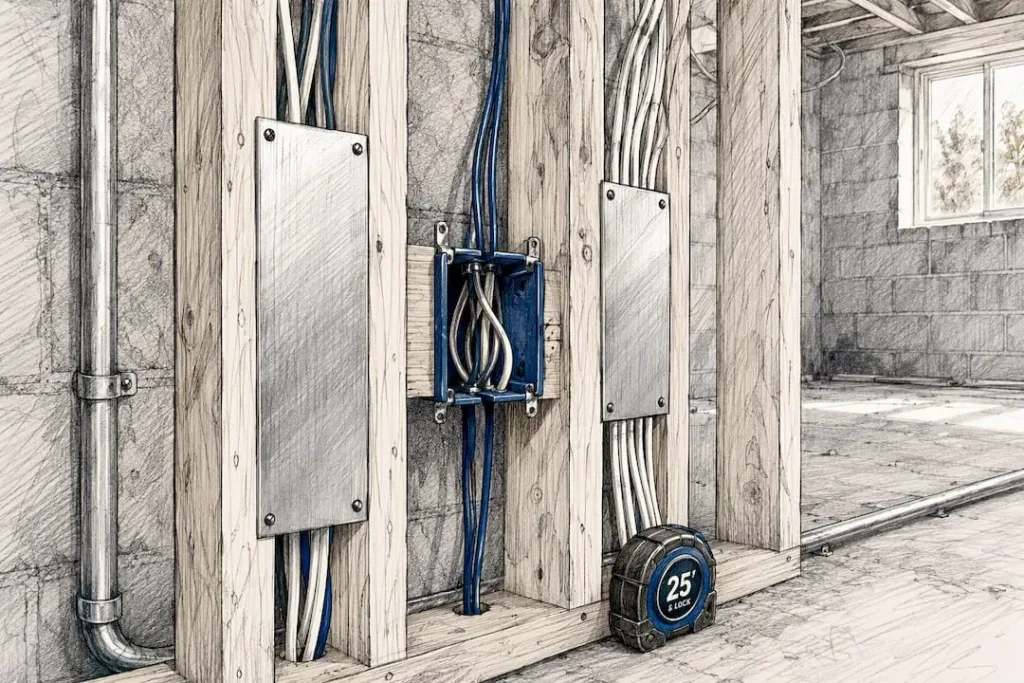
Electrical rough-in. This means checking box locations, verifying nail plates protect cable runs from future drywall screws, confirming junction boxes stay accessible, and tracing grounding and wiring routes for anything haphazard.
HVAC and building envelope. Duct routing matters as much as duct condition. A crushed or kinked run restricts airflow for the life of the system. Inspectors also check combustion air supply, return air paths, and gaps in the weather-resistive barrier around window and door openings.
Foundation and exterior elements. At this stage you can still see sill plates, anchor bolts, and any visible waterproofing before it’s covered. Exposed foundation cracks or moisture staining get flagged here, while they’re still accessible.
Every finding should be photographed with its exact location, trade, and orientation noted. A photo of “a nail plate issue” is far less useful than one labeled “missing nail plate, second-floor bathroom, west wall, 14 inches from corner.” That level of detail is what makes a report defensible when you bring it to the builder.
What a Pre-Drywall Inspection Does Not Cover
Standards of practice from InterNACHI and ASHI both define this as a visual, noninvasive review, and both spell out real limits on what it includes.
ASHI’s auxiliary standards describe inspectors as construction generalists, not code officials or engineers, and state plainly that the inspection does not confirm conformity with codes, plans, or manufacturer instructions. Common exclusions found in regional versions of the standard include verifying structural member sizing, energy code compliance, and fire safety code compliance.
- No code compliance verification, that’s the municipal inspector’s job.
- No structural engineering calculations or sizing adequacy checks.
- No evaluation of buried or below-grade components not visible at the time of the visit.
- No formal energy audit or duct-leakage testing.
If an inspector flags something that looks like a structural sizing issue, the right move is a referral to a structural engineer, not a debate with the framing crew. A private pre-drywall inspection also complements, rather than replaces, municipal code inspections, which focus on minimum life-safety code rather than overall build quality.
Should You Attend the Inspection Walk-Through?
Attending pays off. The walk-through becomes a personalized education session where you see exactly where your plumbing runs, how your ducts are routed, and why a particular framing detail matters, all while the inspector is standing right there to answer questions.
- Bring the builder’s construction schedule and any available plans.
- Bring your phone for your own photos alongside the inspector’s.
- Walk room by room rather than trying to absorb everything from the doorway.
- Ask the inspector to point out anything borderline, not just clear defects.
Coordinate the visit through the builder’s construction manager, and if the schedule allows, ask that the superintendent be present for at least part of the building walkthrough. Having the builder’s team hear the findings directly, instead of secondhand through a report, tends to speed up corrections.
Pro Tip: If a specific trade’s work concerns you, ask the construction manager whether that subcontractor can be on-site during the inspection. A plumber standing next to a flagged fitting will often fix it on the spot.
What’s in the Report, and What Happens Next?
A useful report does more than list problems. It documents each finding with a photo, a precise location, a priority level, and a suggested fix or referral, organized as a punch list the builder can act on without guessing what you mean.
- Review the report as soon as it arrives, most inspectors deliver within 24 to 48 hours.
- Forward it to the builder’s construction manager with a clear request for written acknowledgment.
- Ask for a completion date on each item before insulation is scheduled.
- Request photos or a short follow-up visit confirming repairs before drywall closes the walls.
- Keep a copy of the original report and any correction confirmations for your own records.
- Flag anything unresolved before drywall as a hard stop, not a “we’ll get to it.”
A well-organized photographic report with clear locations and next steps is what makes corrections fast and low-friction for the builder, and it’s also what protects you if a dispute comes up months later.
How Long Does It Take, and What Does It Cost?
A standard single-family pre-drywall inspection runs 2 to 5 hours on-site, longer for custom or larger homes. Fees typically fall between $300 and $450, depending on square footage, region, and inspector.
- Budget 2 to 5 hours for the on-site visit itself.
- Expect the written report within 24 to 48 hours.
- Build that turnaround into your schedule so the builder has time to act before insulation starts.
How Do You Choose the Right Inspector?
Not every home inspector has real new-construction experience, and that gap shows up fast in the quality of the report you get back.
Ask whether the inspector works from InterNACHI or ASHI pre-drywall standards, and ask to see a sample report before you book. A strong sample should include labeled photos, a prioritized punch list, and clear language a builder can act on without a phone call for clarification.
- Confirm the inspector carries professional liability insurance.
- Ask how many pre-drywall inspections they perform in a typical month.
- Ask how they coordinate scheduling with builders, this reveals whether they’ve done this before.
- Ask about add-on services like radon, mold, or sewer camera testing you may want closer to closing.
Red flags are easy to spot once you know what to look for: no photos in the sample report, no formal punch-list format, or an inspector who can’t describe how they typically work with a builder’s team. Any of those suggests you’ll get a checklist, not a usable document.
Our Chicago Experience: What We Look for in Local New Builds
Chicago’s climate shapes what we prioritize at rough-in. Freeze-thaw cycles put real stress on sill plates and exterior flashing over time, and our Climate Zone 5 designation means air-sealing details matter more here than in milder regions. In Chicago-area builds, we pay particularly close attention to window flashing laps, attic duct routing, and visible sill plate anchorage, issues that tend to get quietly buried on tighter build schedules.
- Flashing laps around windows and doors, checked for proper shingle-style overlap.
- Duct routing through unconditioned attic space, checked for kinks and gaps.
- Sill plate anchor bolts, checked for visibility and correct spacing before they’re covered.
Pro Tip: Ask your inspector for photo documentation tied to specific rooms and trades. In a two-flat or a Northwest Side bungalow build, that level of detail makes it much easier for a builder’s team to locate and fix an issue fast.
How We Approach Every Pre-Drywall Visit
We coordinate directly with the builder’s construction manager to lock in a visit before insulation goes in, then walk the site room by room with the buyer whenever schedules allow. Every finding gets photographed and logged with its exact location, and we hand over a written punch list the builder’s team can act on immediately.
Clients tell us the real value is twofold: they understand their own home better, and they walk away with documented proof of any issue instead of a memory that fades. If you’re planning a rough-in visit for a build anywhere in Lake, McHenry, DuPage, or northern Cook County, reach out and we’ll help you get it scheduled around your builder’s timeline.
Book Your Pre-Drywall Inspection With Chicago Home Inspect LLC
Chicago Home Inspect LLC is the local option for buyers who want a documented, photo-backed pre-drywall review instead of a rushed walk-through with no paper trail. We show up on-site, document framing, plumbing, electrical, and HVAC rough-ins with labeled photos, and deliver a written punch list your builder can act on fast, all before insulation closes the walls for good.
You can review our sample report to see exactly how our findings are documented, and browse our interior inspection photos to see the level of detail we capture. We’re licensed and insured, InterNACHI certified, BBB accredited, and available on weekends to work around your builder’s schedule across Lake, McHenry, DuPage, and northern Cook Counties.
Ready to lock in your rough-in window before drywall goes up? Schedule your inspection with us today.
Frequently Asked Questions
Is a pre-drywall inspection the same as the municipal rough-in inspection?
No. The municipal inspection checks minimum code and life-safety compliance. A private pre-drywall inspection gives you a buyer-focused quality review with photo documentation the municipal process typically doesn’t provide.
Can we require the builder to fix everything found before drywall goes up?
You can request it, and most builders will address safety and structural items promptly. Cosmetic or minor items are sometimes negotiated, so prioritize your punch list by severity when you send it over.
What if our builder won’t allow an independent inspection?
Review your purchase contract for inspection access language before signing. Builders who refuse third-party access during construction are worth asking hard questions about before you close.
Do we need a separate inspection after drywall goes up too?
Yes. A pre-drywall inspection covers what’s visible at rough-in only. A final walk-through inspection before closing checks finished systems, fixtures, and overall workmanship that weren’t installed yet during the rough-in phase.
Sources
For buyers who want the underlying framework behind everything above, a few primary sources are worth a direct read.
- InterNACHI Standards of Practice — Pre-Drywall
- American Society of Home Inspectors (ASHI) — Predrywall standards (2026)
- Homes
- Pre-Drywall Inspection – RTI Home Inspections
Reading the original standards helps you set accurate expectations for what any inspector, including us, can and can’t confirm during a rough-in visit.