
Facing another Chicago winter means worrying about water pipes that could freeze overnight and burst. For homeowners in Chicago, even a short cold spell can threaten plumbing running through garages, basements, or along exterior walls. By focusing on vulnerable pipes and outdoor faucets, following smart inspection tips, and implementing proven DIY strategies, you’ll keep your property protected while avoiding costly repairs this season.
Table of Contents
- Step 1: Inspect Vulnerable Pipes And Outdoor Faucets
- Step 2: Seal Gaps And Insulate Exposed Piping
- Step 3: Maintain Indoor Heat Throughout Cold Spells
- Step 4: Allow Faucets To Drip In Freezing Temperatures
- Step 5: Verify Pipe Warmth And Monitor For Ice Formation
Step 1: Inspect vulnerable pipes and outdoor faucets
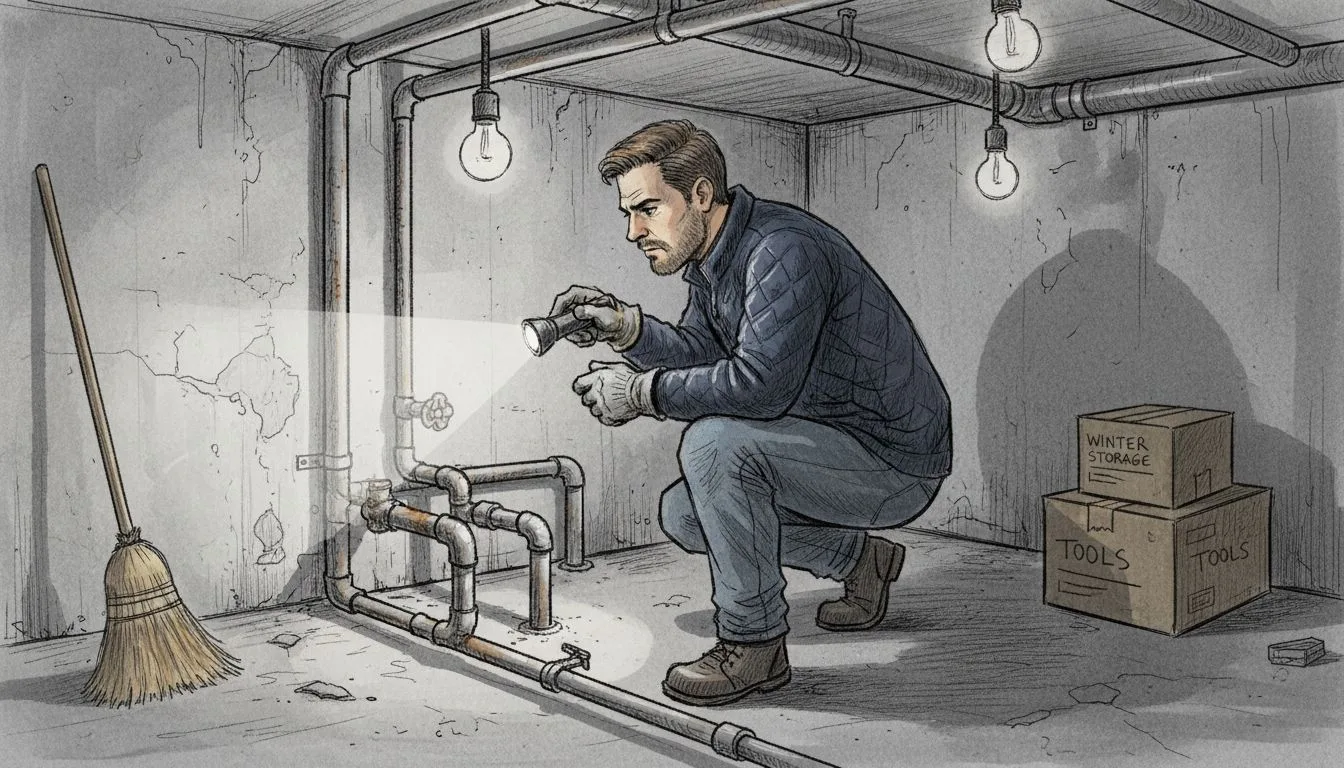
Walking around your Chicago home to identify where water pipes are exposed or vulnerable is your first line of defense against frozen pipes. This inspection takes maybe 20 minutes, and it’s the most important step you’ll take before winter hits hard. You’re looking for any pipes that sit in unheated spaces or areas where cold air can reach them directly. Start with the obvious locations, then move to the spots most homeowners overlook.
Begin outside by checking all your outdoor faucets and hose bibs on the sides and back of your house. These are the first pipes to freeze because they’re directly exposed to the elements. Turn off any outdoor water supply valves that serve these exterior faucets, then open the faucets themselves to drain any water sitting in the lines. If you leave water trapped inside the faucet or the hose bibs, it has nowhere to go when temperatures drop, and that’s when freezing happens. Make sure every garden hose is disconnected and stored away, because hoses that stay attached to outdoor faucets prevent them from draining properly. Now move inside and check your garage, basement, and any crawl spaces where water supply lines might run along exterior walls. These unheated areas are dangerous because pipes there can freeze even if your house stays warm. Look under sinks that are on exterior walls too, as the pipes there get less protection from your home’s heating system.
While you’re inspecting, pay attention to pipes that look old or show signs of previous damage. Smaller diameter pipes freeze faster than larger ones, and copper pipes can crack when water freezes inside them. The Chicago Department of Water Management emphasizes that maintaining warm air circulation around pipes in garages and unheated spaces is one of your best defenses, so note which areas get poor airflow. Make a quick list of everything you find, including which pipes are exposed, where they’re located, and how much sun or wind they typically receive.
Pro tip: Take photos of vulnerable pipes during your initial inspection so you can reference them when it’s time to install insulation or heat tape, and keep the list handy for your annual winter checkup each November.
Here’s a summary of the most common vulnerable pipe locations and their unique risks:
| Location | Common Risk | Additional Notes |
|---|---|---|
| Outdoor faucets | Direct exposure to cold | Drain and disconnect hoses |
| Garage | Limited heating | Insulate and improve airflow |
| Basement | Poor insulation | Seal gaps, monitor temperature |
| Crawl space | Unheated, drafty | Use foam sleeves or heat tape |
| Under exterior sinks | Less indoor heat | Open cabinet doors for airflow |
Step 2: Seal gaps and insulate exposed piping
Now that you know where your vulnerable pipes are located, it’s time to protect them from the cold. This step involves two actions working together: blocking cold air from reaching your pipes and adding insulation to slow heat loss. Combined, these tactics can mean the difference between a normal winter and an expensive one involving burst pipes and water damage throughout your home.
Start by sealing any gaps or cracks where cold air sneaks into the spaces around your pipes. In your basement, crawl space, or garage, look for openings where pipes enter through exterior walls or where utility lines come into the house. Use caulk or spray foam to seal these gaps completely. Pay special attention to areas where multiple pipes cluster together, as cold air can flow right through those spaces and chill the water inside. Once you’ve sealed the entry points, focus on insulating exposed pipes themselves. Foam pipe sleeves are inexpensive and easy to install, even for someone who’s never done this before. These sleeves slide right over your pipes and come in different thicknesses depending on how much protection you need. For outdoor faucets and hose bibs that you identified earlier, wrap them with foam insulation covers designed specifically for those fixtures. In basements, crawl spaces, and attics where pipes run along exterior walls, slip foam sleeves over any exposed sections. The thicker the foam, the better the protection, though even basic quarter inch foam makes a real difference when temperatures drop below freezing.
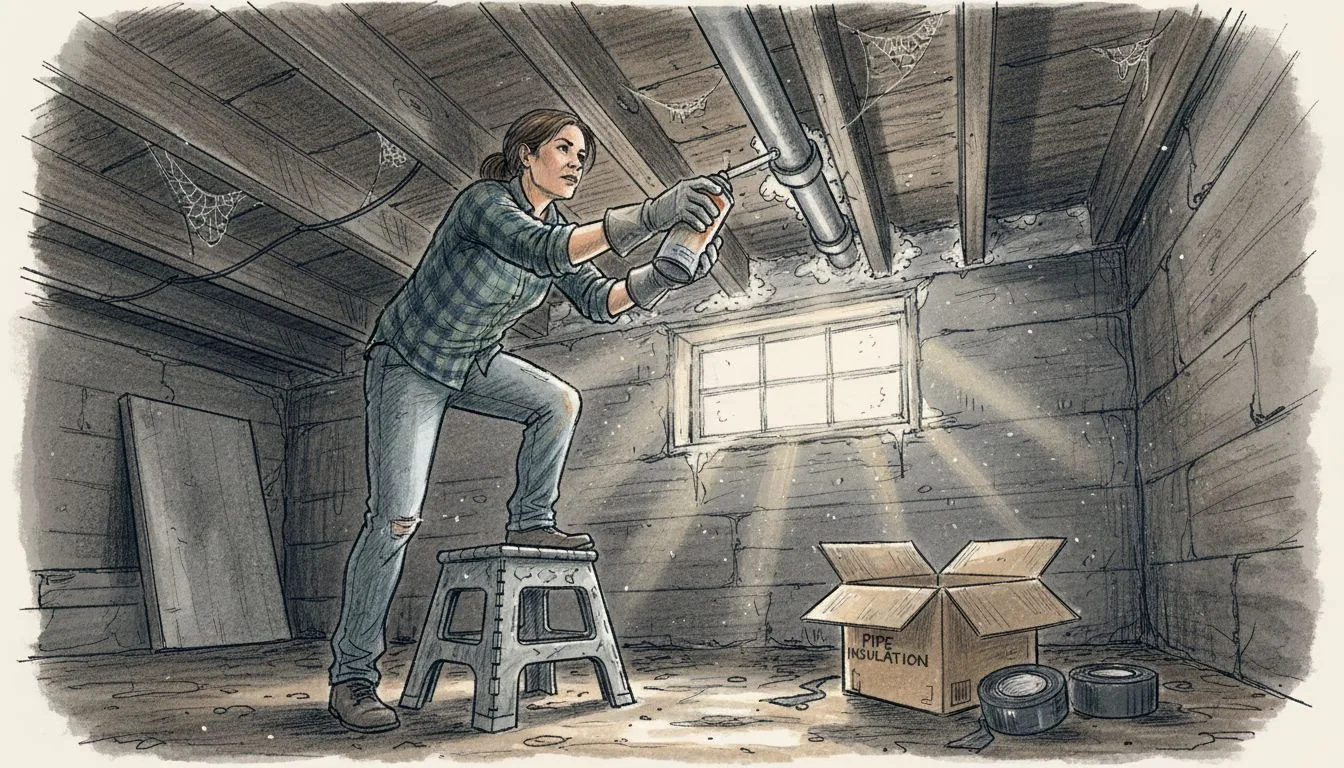
For pipes in the coldest spots or those that have frozen before, consider upgrading to heat cables or heat tape. These electrical heating elements wrap around pipes and activate when temperatures fall, actively warming the water inside and preventing freezing. They’re more expensive than foam insulation but worth the investment if you have a history of frozen pipes or live in a particularly cold Chicago neighborhood. Once you’ve wrapped everything, test your work by running your hand over the insulation to make sure there are no gaps where cold air can slip through. Take time to insulate every exposed section you identified during your inspection.
Pro tip: Wrap your insulation with a protective layer of duct tape or weatherproof tape to keep moisture out and extend the life of the foam, which degrades faster when exposed to humidity and temperature swings.
Compare popular pipe insulation methods by protection level, cost, and suitability:
| Insulation Type | Protection Level | Cost | Best Used For |
|---|---|---|---|
| Foam sleeves | Moderate insulation | Low | Basements, crawl spaces |
| Heat tape | High heat retention | Moderate/High | Previously frozen pipes |
| Foam covers | Basic heat blocking | Very low | Outdoor faucets, hose bibs |
Step 3: Maintain indoor heat throughout cold spells
Your heating system is your pipes’ best friend during Chicago winters. Keeping your home warm isn’t just about comfort, it’s about protecting your plumbing from freezing damage. The goal is straightforward, maintain consistent warmth throughout your entire house, including spaces you might not think about regularly. Even a few hours of extreme cold without adequate heat can cause pipes to freeze, leading to thousands of dollars in repairs and water damage.
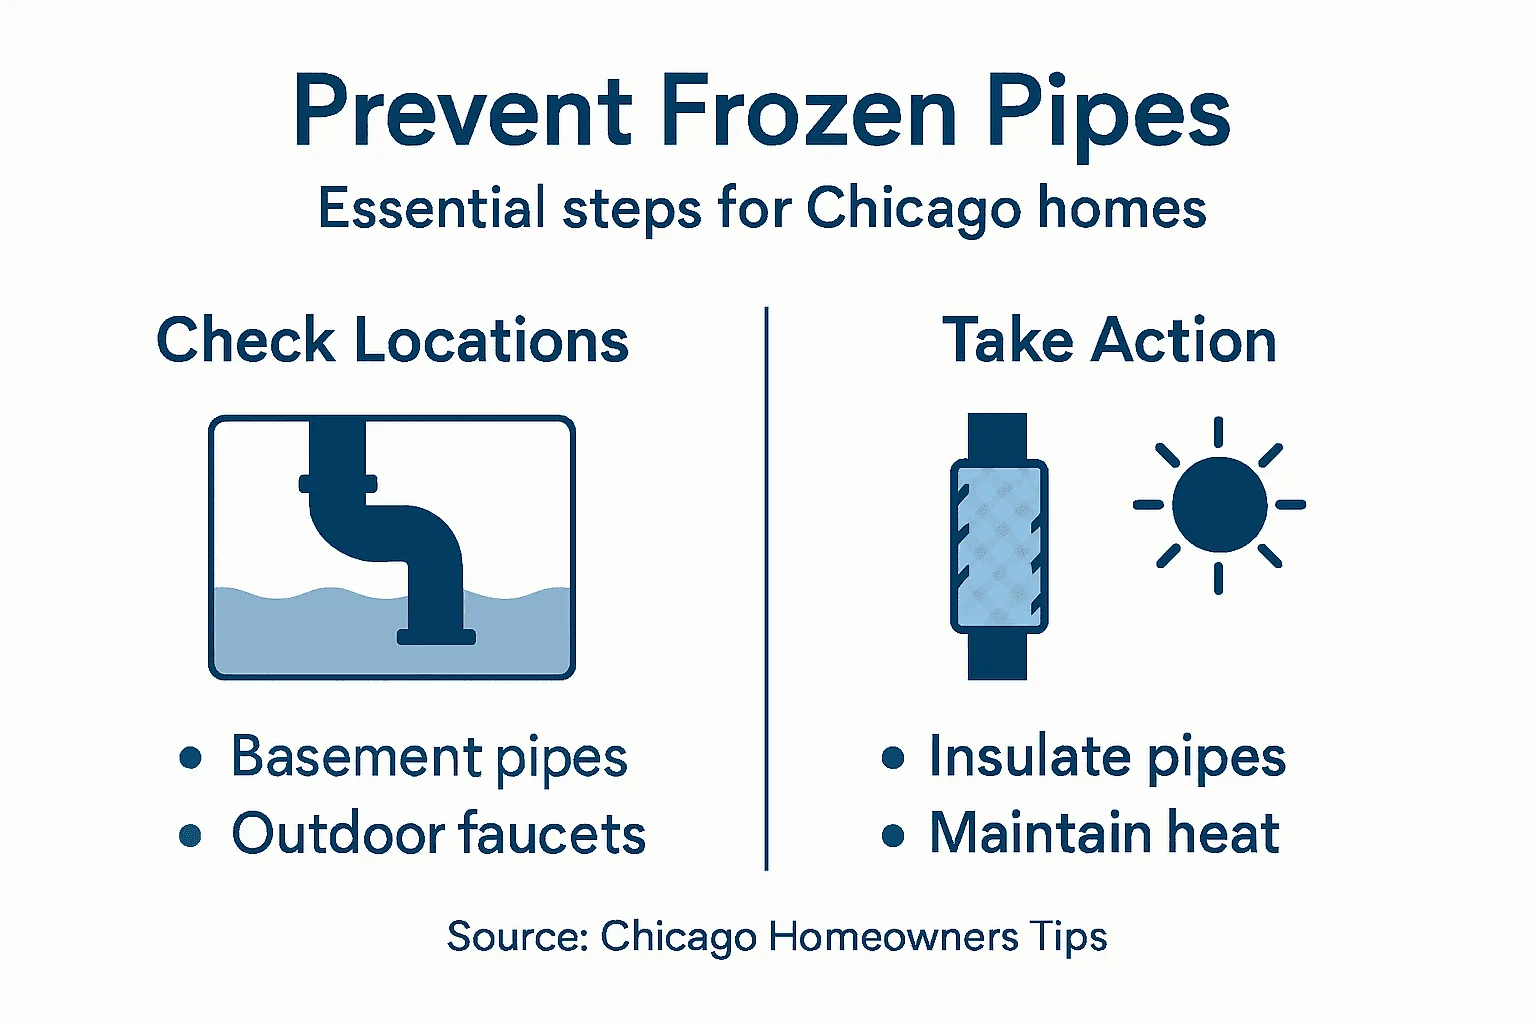
Start by setting your thermostat to at least 55 degrees Fahrenheit, even when you’re away from home for extended periods. This might feel wasteful, but it’s far cheaper than dealing with burst pipes and the cleanup that follows. Many Chicago homeowners make the mistake of lowering their heat significantly when traveling during winter, thinking they’ll save money on energy bills. That false economy backfires quickly when pipes freeze and water floods your basement or walls. Keep your thermostat consistent day and night. Fluctuating temperatures stress your plumbing system and make freezing more likely. Once you’ve set your thermostat, open cabinet doors under sinks, especially those on exterior walls, to allow warm air to circulate around plumbing. This simple action makes a real difference because the warm air from your home’s heating system can reach pipes that would otherwise sit in cold, stagnant air pockets. Similarly, if you have water lines running through your garage, keep that door closed and consider running a space heater on a low setting if the garage becomes too cold. Any pipe running through an unheated or poorly heated space needs access to warm air.
Pay special attention to crawl spaces and basements where temperature control becomes challenging. These areas often feel significantly colder than the rest of your home, and pipes located there are at higher risk of freezing. Make sure your furnace or heating system is working properly before the cold weather arrives, and consider having a professional inspect it during fall. If you notice any rooms in your home that stay unusually cold despite the thermostat being set appropriately, investigate why. Poor insulation, air leaks, or inadequate heat distribution could mean those pipes are in danger. The small investment in maintaining consistent indoor warmth across your entire home prevents catastrophic damage when temperatures plunge below freezing.
Pro tip: During extended absences in winter, leave interior doors open between heated rooms so warm air can flow throughout the entire house, reaching pipes in every corner and significantly reducing freezing risk.
Step 4: Allow faucets to drip in freezing temperatures
This step seems almost too simple, but it’s one of the most effective ways to prevent frozen pipes during extreme cold snaps. When water sits still inside a pipe, it freezes more easily. Moving water resists freezing, which is why allowing a slight drip through your faucets during the coldest nights can save your plumbing. This technique works best when temperatures drop below 32 degrees Fahrenheit and stay there for several hours or longer.
Start by identifying which faucets to use for this strategy. Focus on faucets at the end of your water supply lines, particularly those on upper floors or far from your main water meter. These are the locations most likely to freeze first because water has traveled the longest distance and loses heat along the way. At night when temperatures are expected to drop significantly, turn the handle at each of these faucets so water flows out in a thin stream, roughly the thickness of a pencil lead. The goal is not a steady stream but rather a slow drip that keeps water continuously moving through the pipes. Running a small trickle of cold water through faucets at each floor of your home during freezing weather directly prevents pipe freezing. While it might seem wasteful to let water run, the cost of that water is minimal compared to what you’d spend on pipe repairs. Turn on faucets in bathrooms, kitchens, and laundry areas, particularly those connected to pipes you identified as vulnerable during your earlier inspection. If you have exposed pipes in your basement or crawl space, consider placing a bucket under a nearby faucet to catch the dripping water so you can reuse it for household tasks like mopping or watering plants.
Keep the faucets running this way throughout the duration of the cold spell. Once temperatures rise above freezing during the day, you can turn them off temporarily, but resume the drip again when evening arrives and cold returns. This is not a permanent solution, but rather a temporary measure during the most dangerous freezing conditions. Combine this technique with your insulation work and heating maintenance for maximum protection. The beauty of this method is that it requires no special equipment or expertise, just awareness and action during the coldest nights of the Chicago winter.
Pro tip: Place towels or a bucket under dripping faucets to catch water and minimize waste, then use that collected water for cleaning or outdoor purposes once temperatures warm up.
Step 5: Verify pipe warmth and monitor for ice formation
Now that you’ve taken preventative steps, it’s time to actively monitor your pipes and catch problems before they become catastrophic. This step involves regular checks of vulnerable pipes to ensure they’re staying warm and to spot early warning signs of freezing before water damage occurs. Think of this as your early warning system, catching trouble when it’s still manageable.
Start by doing a physical inspection of the pipes you identified as vulnerable during your initial walkthrough. During extremely cold weather, visit your basement, crawl space, garage, and any other area where you have exposed pipes. Place your hand directly on pipes to feel their temperature. A pipe that feels cold to the touch is in danger, while one that feels slightly warm indicates proper heat circulation. Use a digital thermometer to check the temperature of pipes in your most vulnerable locations, especially those running along exterior walls or in unheated spaces. You’re looking for any pipe that’s dropping below 50 degrees Fahrenheit, as this is when freezing becomes a real risk. Regular inspection of pipes in vulnerable locations such as attics, basements, and exterior walls to detect cold drafts or ice formation is essential for preventing damage. While checking temperatures, look for visual signs of freezing like frost buildup on pipes, condensation that’s frozen solid, or a white crystalline coating. These visual cues tell you ice is already forming inside and you need to act immediately.
Beyond physical inspections, pay attention to changes in water flow or pressure at your faucets. A sudden decrease in water flow, especially at faucets farthest from your main water line, can indicate that ice is beginning to form inside the pipes feeding those faucets. If you notice weak water pressure on the second floor but normal flow on the first floor, you likely have a partially frozen pipe upstairs. Some Chicago homeowners invest in low temperature alarm devices or frost detection sensors for their most vulnerable pipes, which alert them instantly when temperatures drop to dangerous levels. These devices are relatively inexpensive and provide peace of mind during the harshest cold snaps. Check your pipes at least once daily during periods when temperatures are expected to stay below freezing overnight. If you find a pipe that’s dangerously cold despite your insulation and heating efforts, you can apply temporary heat using a heat lamp, hair dryer, or heating pad while you determine why it’s not warming properly.
Pro tip: Keep a digital thermometer and flashlight in an easily accessible location so you can quickly check pipe temperatures during cold snaps without scrambling to find tools.
Protect Your Chicago Home From Costly Frozen Pipe Damage Today
Preventing frozen pipes is critical to avoid water damage and expensive repairs during Chicago’s harsh winters. If you are concerned about exposed pipes, insufficient insulation, or inconsistent indoor heating increasing your risk of pipe freezing you are not alone. Many homeowners face the challenge of identifying vulnerable areas and ensuring proper protection for their plumbing system before freezing temperatures hit. Taking action now reduces stress and helps maintain safety and comfort in your home.
A professional home inspection can pinpoint exactly where your pipes are at risk and offer tailored recommendations including yearly checkups to monitor your home’s condition. Our licensed and InterNACHI certified inspectors provide thorough evaluations to help you seal gaps improve insulation and confirm your home maintains safe temperatures throughout the cold months. Don’t wait until a pipe bursts to learn about hidden vulnerabilities. Schedule your inspection now for peace of mind and prevent costly frozen pipe disasters.
Get started today with a comprehensive home checkup. Protect your investment by booking your inspection with Chicago’s trusted team. Act now to safeguard your pipes and keep your home warm and secure all winter long.
Frequently Asked Questions
How can I identify vulnerable pipes in my Chicago home?
Inspect both the exterior and interior areas of your home for exposed water pipes, particularly in unheated spaces like garages, basements, and crawl spaces. Take 20 minutes to walk around and make a list of any pipes that show signs of damage or sit in cold drafts, ensuring you include outdoor faucets and any plumbing on exterior walls.
What steps should I take to insulate my exposed pipes?
Seal any gaps or cracks around your pipes to block cold air, and install foam pipe sleeves over exposed areas for insulation. Ensure every vulnerable pipe is covered, and for added protection, consider using thicker insulation for pipes in the coldest areas of your home.
How much heat should I maintain indoors to prevent frozen pipes?
Set your thermostat to at least 55 degrees Fahrenheit, even when you are away. This consistent temperature helps maintain warmth around your pipes and prevents freezing, which can save you from costly repairs in case of burst pipes.
Should I let my faucets drip during freezing temperatures?
Yes, letting faucets drip during extreme cold is an effective way to keep water moving through pipes, helping to prevent them from freezing. Aim for a slow drip from faucets connected to vulnerable pipes, particularly those on upper floors, even when temperatures drop below freezing.
How can I monitor my pipes for signs of freezing?
Regularly check the temperature of vulnerable pipes using your hand or a thermometer, especially during cold weather. Look out for pipes that feel cold to the touch or signs of frost buildup, as these are indicators that your pipes may be at risk of freezing.
Recommended
- Winter Home Maintenance List to Prevent Damage in Chicago | Chicago Home Inspect LLC
- 7 Winter Prep in Chicago: Hidden Maintenance Tasks Most Homeowners Miss | Chicago Home Inspect LLC
- Ice Dams – Protecting Chicago Homes This Winter | Chicago Home Inspect LLC
- Fall Home Maintenance Checklist | Chicago Home Inspector Tips
- Priprema komarnika za zimu – šta uraditi da traju duže
- Solar Attic Fan Winterization Tips