

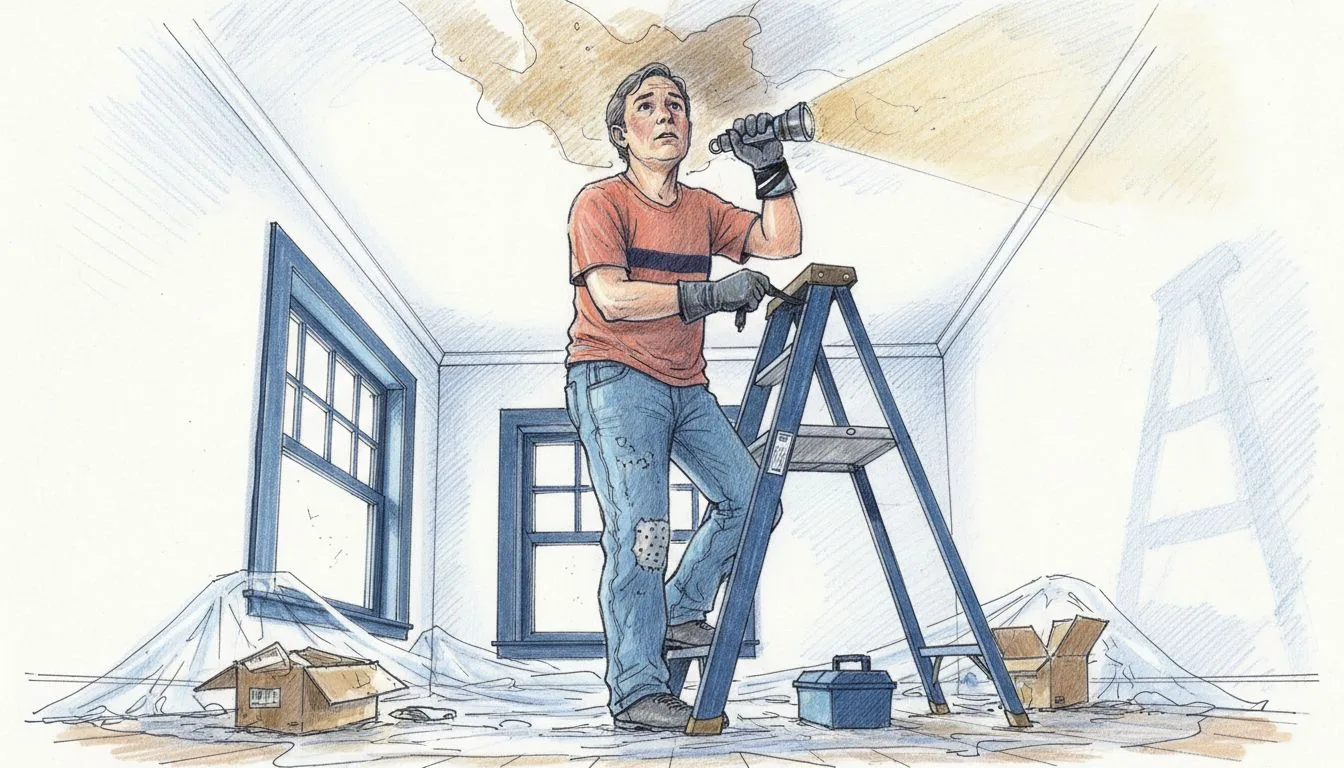
Ceiling water stains send alarm bells for many American first-time homebuyers in Chicago, raising big questions about safety and long-term costs. Experts warn that untreated stains can lead to up to 60 percent more structural damage risk compared to prompt repairs. Addressing these concerns early helps buyers protect their investment and family. This guide uncovers practical strategies to identify, repair, and prevent ceiling water stains before they threaten your peace of mind.
Table of Contents
- Step 1: Assess Ceiling Water Stains and Pinpoint the Source
- Step 2: Check for Mold and Moisture Damage Safely
- Step 3: Repair Ceiling Water Stains and Leakage
- Step 4: Test Repairs for Effectiveness and Safety
- Step 5: Implement Preventive Measures for Future Stains
Step 1: Assess Ceiling Water Stains and Pinpoint the Source
Ceiling water stains require swift investigation to prevent serious home damage. Forensic roof inspection techniques can help you trace moisture to its precise origin and understand the full extent of potential water intrusion.
Start by carefully examining the stain’s characteristics. Size, shape, and color offer critical clues about the water source. Dark brown or rust colored stains typically indicate long standing water problems, while fresh gray or white stains suggest recent leakage. Trace the stain back to potential water entry points like roof edges, plumbing lines, or bathroom fixtures. Check the attic directly above the stain for signs of moisture penetration, looking for wood discoloration, mold growth, or water trails.
If the source remains unclear, professional home inspectors can deploy advanced moisture detection tools to pinpoint hidden leaks. Water can travel surprising distances from its original entry point, making visual tracing challenging in Chicago area homes with complex roof and plumbing systems.
Pro tip: Always investigate ceiling water stains within 48 hours to prevent potential structural damage and mold growth.
Here’s a comparison of common sources of ceiling water stains and their key indicators:
| Water Source | Typical Stain Color | Likely Entry Points |
|---|---|---|
| Roof leak | Brown or rust | Roof edges, attic, flashing |
| Plumbing line leak | White or gray | Pipes, bathrooms, under flooring |
| Condensation buildup | Faint yellow | Attic spaces, poorly insulated |
| Fixture overflow | Light brown | Bathrooms, laundry, kitchens |
Step 2: Check for Mold and Moisture Damage Safely
Protecting your home from mold requires careful and systematic inspection. Identifying mold risks early can prevent extensive damage and potential health complications for your family.
Begin by thoroughly examining areas prone to moisture accumulation. Check around windows, under sinks, in bathroom corners, and near plumbing fixtures for signs of water damage or mold growth. Look for discoloration, dark spots, musty odors, or any visible patches of green, black, or white fungal growth. Pay special attention to basement areas, crawl spaces, and areas with poor ventilation where moisture tends to collect.
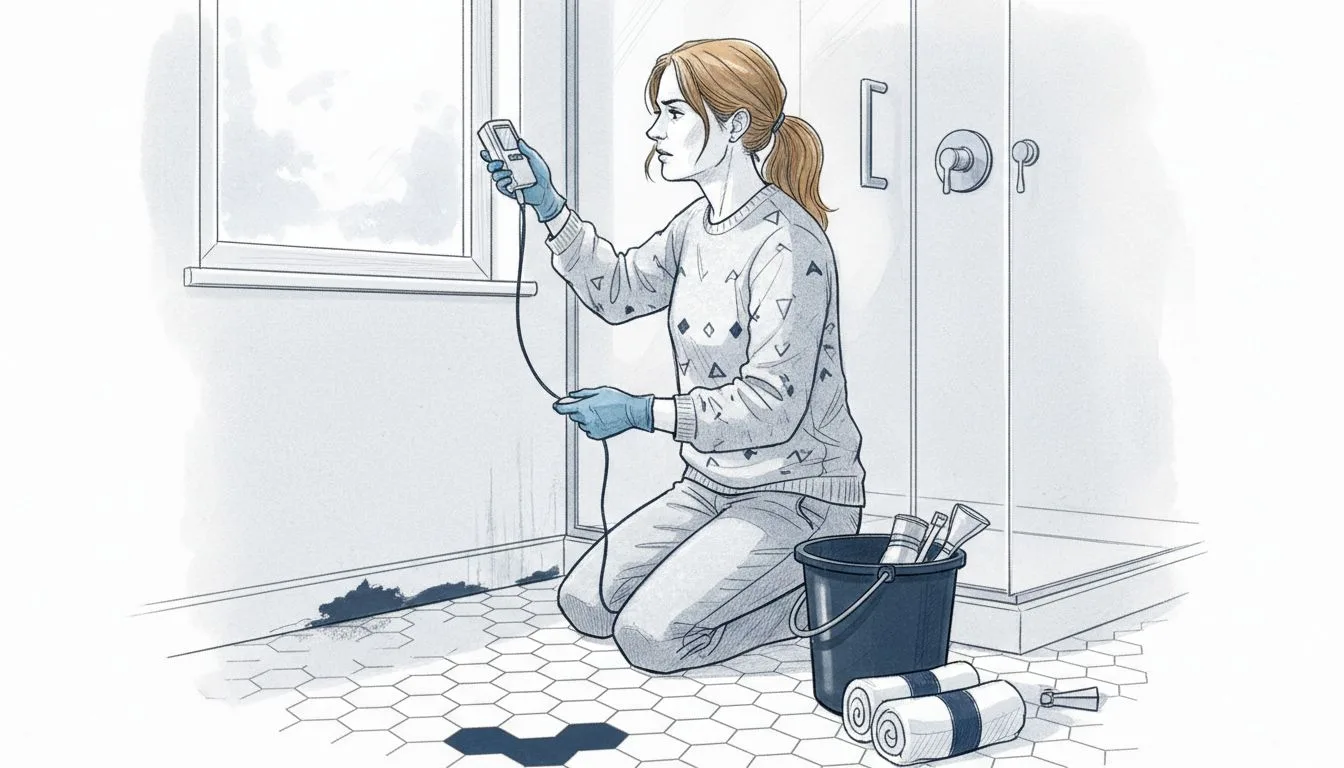
When investigating potential mold sites, wear protective gear including disposable gloves, an N95 respirator mask, and safety glasses. Some areas might require professional assessment if you notice extensive growth or suspect hidden moisture behind walls or under flooring. Chicago homes with older infrastructure are particularly vulnerable to moisture intrusion, so comprehensive checking is crucial.
Pro tip: Use a moisture meter to detect hidden water damage in walls and ceilings before visible mold appears.
Step 3: Repair Ceiling Water Stains and Leakage
Repairing water damage requires a systematic approach to prevent further structural problems in your home. Effective leakage reduction strategies can help you address water stains and stop ongoing moisture intrusion.
Start by identifying the source of the water damage. Carefully remove any damaged drywall or plaster around the water stain, ensuring you expose the entire affected area. Use a utility knife to cut a clean square or rectangle, revealing the underlying structure. Check for active leaks in nearby pipes, roof connections, or plumbing fixtures. If the leak is still active, shut off the water supply and contact a professional plumber to make precise repairs before attempting to patch the ceiling.
Once the source is repaired, allow the area to dry completely. Use fans and dehumidifiers to remove moisture from the surrounding materials. Apply a stain blocking primer to prevent future discoloration, then patch the area with new drywall or plaster. Sand the patch smooth, prime, and paint to match the existing ceiling. Chicago homes with older infrastructure often require extra care during these repairs to prevent recurring moisture issues.
Pro tip: Always take photographs of water damage before repairs for insurance documentation and future reference.
Step 4: Test Repairs for Effectiveness and Safety
After completing ceiling repairs, verifying the quality and safety of your work is crucial. Field testing methods provide comprehensive techniques to ensure your repairs will protect your home from future water damage.
Begin by conducting a thorough moisture content assessment. Use a professional grade moisture meter to check the repaired area and surrounding materials. Look for any residual dampness that could indicate incomplete drying or lingering leaks. Pay close attention to adjacent walls and ceiling sections, not just the immediate repair zone. Carefully inspect the patch for proper adhesion, smooth texture, and color consistency. Run your hand gently over the repaired surface to feel for any unevenness or potential weak points.
Simulate potential water exposure by conducting a simple water resistance test. Lightly spray a small amount of water near the repaired area to verify the seal and paint integrity. Watch for any immediate signs of moisture absorption or discoloration. For Chicago homes with variable humidity and temperature conditions, multiple test cycles can help confirm the repair durability. If you notice any signs of weakness or recurring moisture, consider consulting a professional home inspector for a more comprehensive evaluation.
Pro tip: Document your repair process with dated photographs to track long term performance and assist with potential future insurance claims.
Step 5: Implement Preventive Measures for Future Stains
Preventing water damage requires a proactive approach to protecting your home’s infrastructure. Sustainable water management strategies can help Chicago homeowners minimize the risk of recurring ceiling water stains and moisture problems.
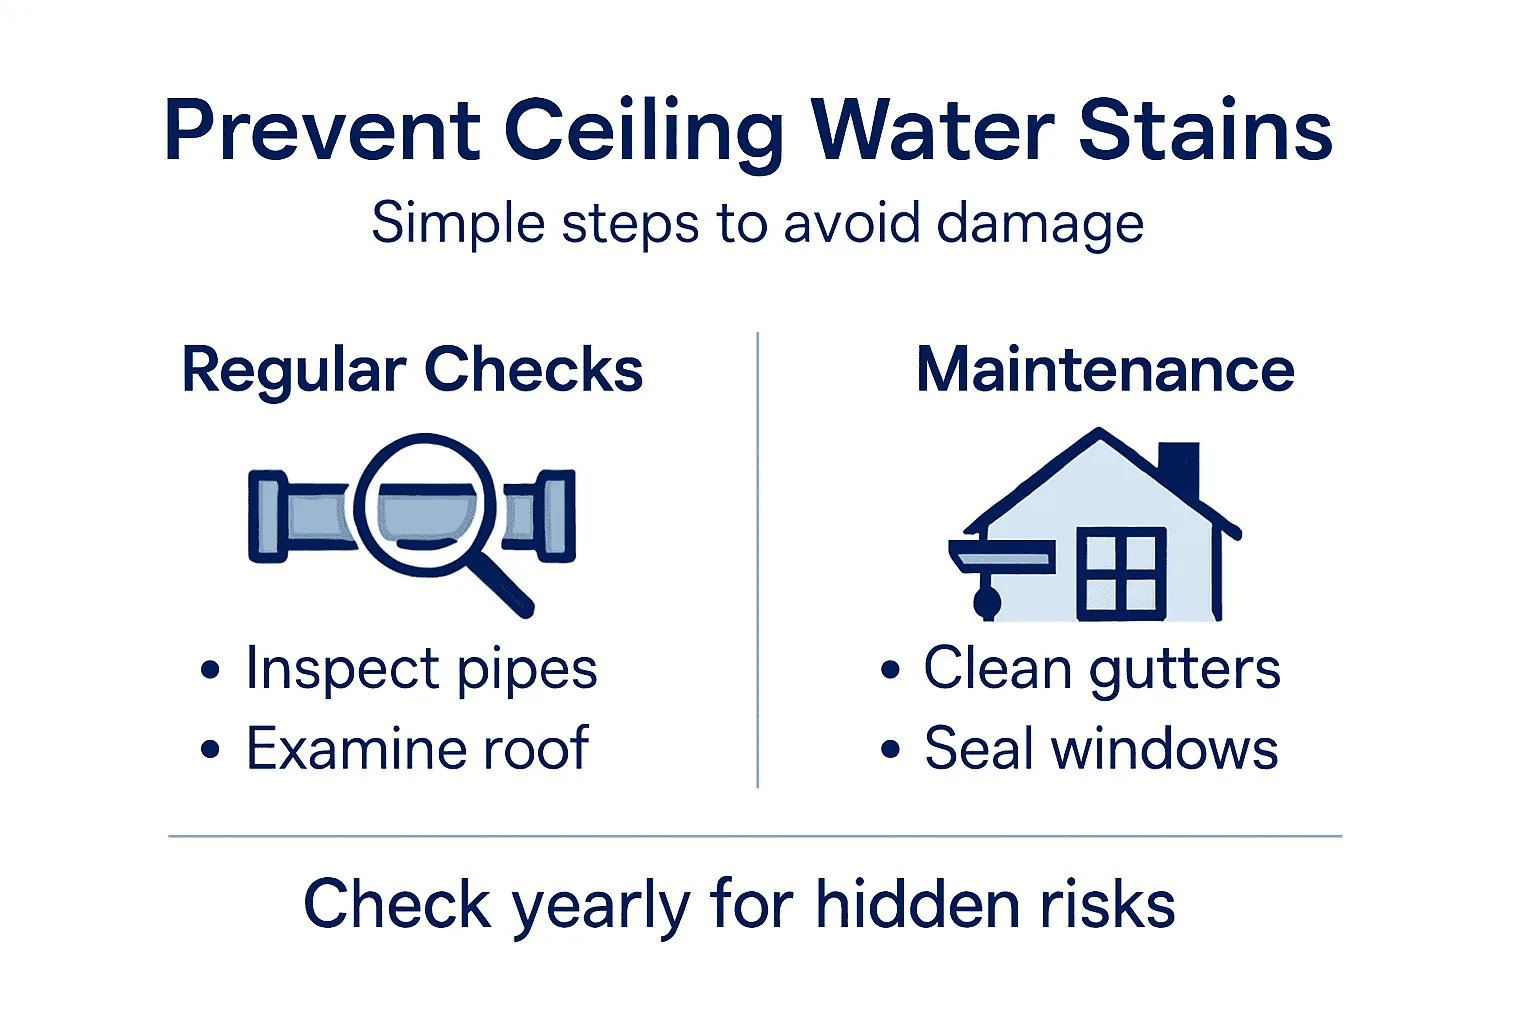
Start by conducting regular inspections of your home’s critical water systems. Check plumbing connections, roof edges, and basement areas for early signs of potential leaks. Install water leak detection sensors near potential problem areas like water heaters, washing machines, and under sinks. Improve your home’s ventilation by using dehumidifiers in high moisture areas such as bathrooms, laundry rooms, and basements. Consider adding insulation to prevent condensation buildup in attic spaces and around pipes.
Maintain your home’s exterior drainage systems to prevent water from pooling near your foundation. Clean gutters and downspouts regularly, ensuring water is directed away from your home’s structure. Seal any exterior cracks or gaps that could allow water intrusion. For homes in Chicago’s variable climate, consider professional waterproofing treatments for basement walls and foundation areas that are most susceptible to moisture penetration.
Pro tip: Schedule annual professional home inspections to catch potential water damage issues before they become expensive repairs.
Below is a summary of essential preventive measures and their effectiveness for limiting future water stains:
| Preventive Measure | Area of Impact | Benefit Provided |
|---|---|---|
| Leak detection sensors | Kitchens, basements | Early warning for small leaks |
| Improved ventilation | Bathrooms, laundry | Reduces mold and moisture risks |
| Exterior drainage maintenance | Foundation, lawns | Prevents water pooling and entry |
| Annual professional inspections | Whole home | Early identification of problem |
Protect Your Home from Ceiling Water Stains with Expert Inspection Services
Ceiling water stains can signal hidden leaks, mold risks, and costly damage if left unaddressed. Understanding the source of water intrusion and verifying repair effectiveness are critical steps to protect your home’s structure and your family’s health. If you have noticed discoloration, mold growth, or ongoing moisture issues in your ceiling or walls, it is important to act quickly and thoroughly.
Our licensed and InterNACHI certified inspectors specialize in comprehensive home assessments across Chicago and the suburbs. We offer Buyer Pre-Purchase Inspections and Yearly Home Checkup services designed to detect leaks, hidden moisture, and mold early. Schedule an inspection now to get professional guidance on repairing leaks properly and implementing preventive measures. Don’t wait for water stains to worsen or cause structural damage; visit https://www.chicagohomeinspector.com/schedule to book your appointment today and secure your home’s future.
Frequently Asked Questions
How can I identify the source of ceiling water stains?
Start by examining the characteristics of the stain, such as its size, shape, and color. Trace the stain back to potential water entry points like the roof edges, plumbing lines, or bathroom fixtures to locate the leak.
What steps should I take if I find mold near ceiling water stains?
Wear protective gear, including gloves and a mask, to safely inspect for mold growth. Check areas around windows, plumbing fixtures, and corners for any signs of discoloration or dark spots, and consider getting a professional assessment if the growth is extensive.
How do I effectively repair ceiling water stains?
First, identify and fix the source of the leak before proceeding with repairs. Remove damaged drywall or plaster, allow the area to dry completely, then patch and paint the ceiling to match the surrounding area for a seamless finish.
What preventive measures can I implement to avoid future ceiling water stains?
Conduct regular inspections of your plumbing and roofing systems to identify early signs of leaks. Install water leak detection sensors and improve ventilation in high-humidity areas to minimize moisture accumulation.
How can I test the effectiveness of my repair for ceiling water stains?
Use a moisture meter to assess the repaired area for residual dampness. Perform a simple water resistance test by lightly spraying water near the patch and monitoring for any signs of moisture absorption or discoloration.
When should I schedule professional inspections for potential water damage?
Schedule annual professional home inspections to catch any potential leaks or moisture issues early. This proactive approach can help you identify problems before they lead to more extensive repairs.
Recommended
- How to Spot Water Damage Before It Becomes Costly
- 7 Ways to Storm-Proof Your Home: Small Fixes for Water Damage | Chicago Home Inspect LLC
- Cracks, Stains, and Squeaks: Complete Home Guide | Chicago Home Inspect LLC
- 7 Common Home Inspection Findings You Should Know | Chicago Home Inspect LLC
- Restoring Stained Glass Windows Guide for Historic Homes –